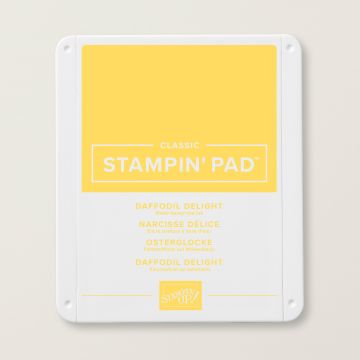
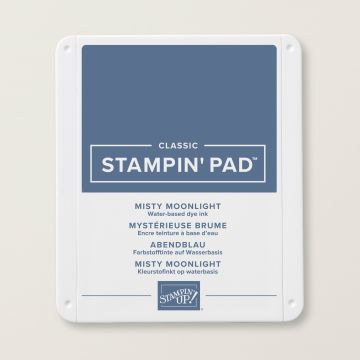
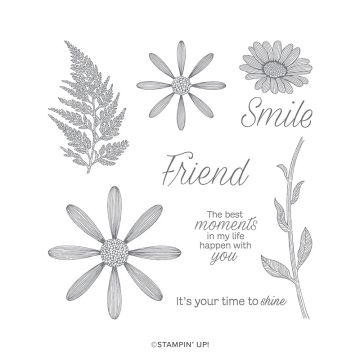
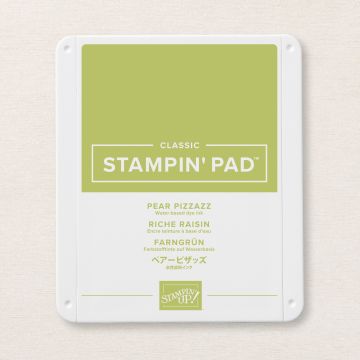
Click on the images below to SHOP WITH ME NOW and show me what you can create with these gorgeous products.
Friday, July 31, 2020
Daisy Lane
Today's cards are created, again using the sweet Daisy Lane stamps set. I wanted to show you how versatile this little set can be. Daisies don't always need to be white or gold. I love them in Misty Blue and embossed and also in Merry Merlot. It's a shame the photo doesn't show the bead of Shimmery Crystal Effects in the centre of the Merry Merlot Daisy. It is so pretty and gives a great highlight. The lovely frayed denim look ribbon suits these cards so well and is part of the Boho Indigo Suite, which is also worth a look. I'm so happy with how this cluster of cards turned out, because Stampin' Up!® products are so beautifully co-ordinated, which makes it easy to unleash your creativity.
Thursday, July 30, 2020
Daisy Lane
Today in the studio, the lovely Daisy Lane came out to play. I grew up with daisies in the garden and grew them in a number of homes. Sadly they don't grow in my current garden so I will have to create with them instead. I love how sweet this set is and I felt that it called for a sweet and simple treatment.
In this first card I wanted to use the negative space left when I used the Daisy punch. I stamped 2 more daisies from the Daisy Lane Stamp set around it and added stems. I used a "Whisper White" base card and my first layer is "Daffodil Delight" then I overlayed the punched and stamped "Whisper white" 3rd layer. The sentiment is stamped on a "Story Label" punched label. The stamp pads colours used were Daffodil Delight and Pear Pizzazz.
The second card is a cute little "pull out" card with a hidden message inside. I used a "Daffodil Delight base card and layered with DSP from the "Boho Indigo" collection. The Daisy was punched from "Daffodil Delight" and the sentiment from the Daisy Lane stamp set was inked in Misty Moonlight which is perfect with the Boho Indigo layer. I added some rhinestones to add a little shine to the hidden sentiment.
For the products used in these cards, click on the images below to SHOP NOW!
Just a little side note, I am waiting on some equipment to help me organise some videos for you so if there is anything you would like to see explained let me know in the comments section please. Cheers for tonight, Anna.😊
PS, don't forget to sign up to follow my blog. Add your email over on the right of the page➢
Wednesday, July 29, 2020
Forever Fern and Masking your Cards
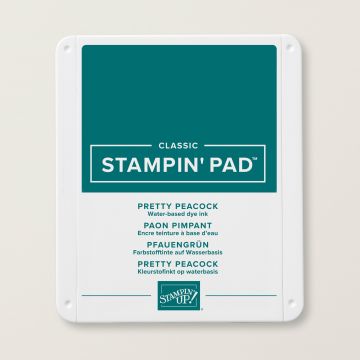
Hello everyone. Today I created 3 VERY simple cards suitable for beginners or someone who has not used "masking" in their cards before. I used the Forever Fern stamp set because it works so well with this technique. Three coloured Classic Stampin' pads were used, in this case, Pretty Peacock, Pear Pizzazz and Soft Sea foam. Three matching card stocks were used for the base cards, Pretty Peacock, Pear Pizzazz and Garden Green. Whisper White Cardstock was used for all three card fronts and inserts.
Step one, using a piece of scrap paper, cut out the shape you would like to hold your sentiment. Here I have used an oval, circle and square. Lay your shape in the centre of your card front as below

Step 2, Stamp your design around and over the shape, being careful not to move the shape around. Aim for a balance of images and colours. When you are happy with the design, lift the shape away from your cardstock.
Step 3, Stamp your sentiment into the negative space left by the scrap shape.
Click on any of the images below to SHOP NOW!
Garden Green Cardstock Pear Pizzazz Cardstock
Pretty Peacock Cardstock
Soft Sea Foam Classic
Stampin' Pad Pear Pizzazz
Pretty Peacock
Forever Fern Stamps Set

Please Subscribe to my blog, go to the bottom right hand corner and subscribe by email. I would love to chat more with you..Cheers, Anna
Monday, July 27, 2020
Painted Poppies.
Today, most of the day was spent in the Studio, working on a special project. With that in mind I thought that I would whip up a quick card for tonight's blog. It turned out not to be so quick as it developed. I'd had fun today practising my embossing technique so it made sense to use it on tonight's card and then I decided on a little more and a little more and it got late.

I started with a "Real Red" base card, layered it with "Whisper White" cardstock on which I stamped black Versamark ink poppies and embossed with clear embossing powder. The next layer is a snippet of "Peaceful Poppies" DSP but you could use "Artistry Blooms" DSP. On a small piece of "Whisper White", I stamped another poppy from the Painted Poppies Stamp set with black Versamark and again, embossed in clear embossing powder. This was then coloured in using "Real Red" and "Shaded Spruce" Stampin' Blends. I used the "Story Label" punch on a piece of Whisper White" cardstock and stamped a sentiment from the "Well Said" stamp set, then coloured around the label using
"Real Red". The red ribbon is from the upcoming August-December catalogue.
When layering your cardstock, keep in mind that you need a little space between your first and second layer to secure your ribbon behind the second layer..I had not planned the ribbon so found it difficult.
I used a layer of "Whisper White" cardstock inside the card to write a greeting and because the inside of the card must always be beautiful too, added another snippet of the Peaceful Poppies DSP.
Click on any of the Images below to SHOP NOW
Painted Poppies Stamp Set / Cling
Whisper White Cardstock
Real Red Cardstock
Real Red Stampin' Blends Combo

Shaded Spruce Stampin' Blends Combo
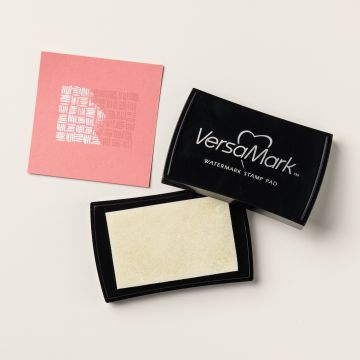
Versamark Stamp pad and Refill
Stampin' Emboss Powder/ Clear
Story Label Punch
Well Said Stamp Set/ cling
Sunday, July 26, 2020
Another look at Forever Greenery
This Collection Of DSP, stamps and dies is just so lovely, that I could not resist going back to it.
I thought I would Let the Designer Series Paper speak for itself this time and used minimal stamping, concentrating instead on the use of dies and embossing folders. I think they worked out quite nicely, don't you?
If you would like to SHOP NOW for some of the goodies used in the creating of these cards, click on any of the images below.
Subscribe to:
Posts (Atom)
Annual Catalogue May 2021- April 2022
Hello everyone. Welcome to my blog, where I hope to be able to show you the wonderful Stampin' Up!® products available in our exciting...

-
Hello everyone. Welcome to my blog, where I hope to be able to show you the wonderful Stampin' Up!® products available in our exciting...
-
Well, the good news is that Melbourne is finally out of the severe lockdown period and lie is starting to resemble some sort of normal. Life...
-
My rose garden is in bloom, the sun is shining and the gorgeous matching pair of Beauty Abounds Stamp set and Butterfly Beauty Dies seemed l...


